How to Make a Leather Journal Cover for a Notebook That Fits Perfectly
Published How we research
A leather cover turns an ordinary notebook into something that feels personal and lasts for years, and a refillable design lets you swap in a new notebook when the old one is full. It is a friendly project, with mostly straight cuts, simple edges and a few hardware choices. What decides whether it works is measuring: a cover that is a little too tight will not close or will warp, and one that is too loose looks sloppy. This guide covers measuring the notebook, choosing leather, cutting the cover and any flaps or pockets, finishing the edges, adding a strap, snap or elastic closure and making the cover refillable, with notes on tooling and care.
Products from this article
The highest-scoring picks from the buying guides this article links to. Scores are our editorial assessment, not customer ratings.
As an Amazon Associate we earn from qualifying purchases. This does not change our picks. Affiliate disclosure
New to Prime? Try Prime free for fast, free shipping on eligible items.
+ Organizer case keeps all 458 Pcs in order
From our guide: Best Leather Working Kits for Every Skill Level
+ 32 patterns give broad design variety for tooling
From our guide: Best Leather Stamps for Tooling and Decoration
+ Line 24 snaps are a strong, common size for leather
From our guide: Best Leather Snaps and Fastener Kits
+ Includes a stitching pony, which many kits leave out
From our guide: Best Leather Working Kits for Every Skill Level
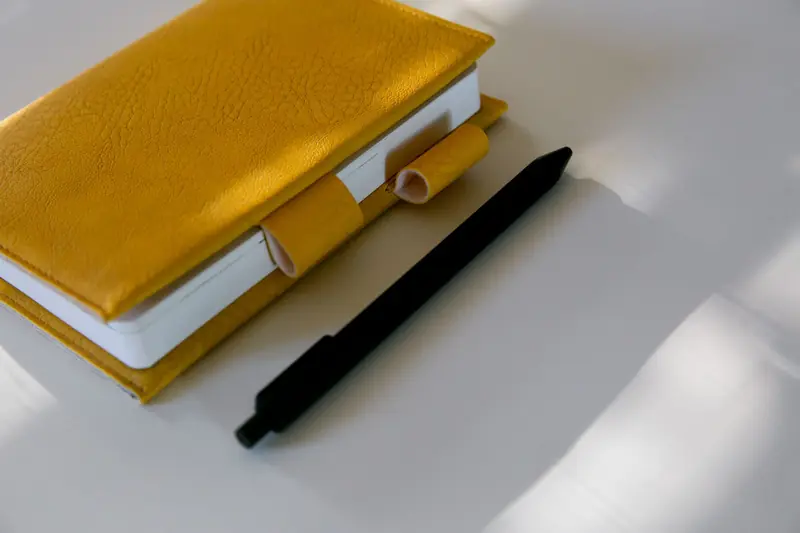
Measure the notebook carefully
Measure the height, width and thickness of the notebook when it is closed, and note whether it has a spine that bulges. Add an allowance for the leather thickness and for the turn-in at each side so the cover wraps without strain.
Cut a paper or card mock-up and wrap it around the notebook to check the fit. If the notebook is likely to swell with use, add a little room, and keep the measurements for later covers.
Pick the leather
A soft to medium weight leather folds well and wears nicely. Chrome-tan and pull-up leathers give a soft, flexible cover, while vegetable-tanned leather gives a firmer look that can be tooled and darkens with age.
Avoid very thick leather, since it makes the folds bulky and the notebook hard to close. Check the weight range with the seller, and buy a little extra for mistakes and for a pocket or strap.
Choose a design
A wrap-around cover has flaps at the front and back that hold the notebook covers in place, and a strap that wraps around the outside. A pocket-style cover uses a sleeve on each side, and a simple sleeve cover slides on the notebook like a jacket.
Pick the simplest design for your first cover. The wrap-around style is a common favorite because it is easy to make and easy to adjust, and it can hold a pen loop or card slot as an extra.
Allow for how the notebook changes
Notebooks swell as pages fill, get written in and pick up humidity, so a cover that fits perfectly on day one may be tight a few months later. Build in a small allowance at the spine and the fore edge to avoid strain on the stitching.
If you plan to swap notebooks, measure the largest one you expect to use and design the closure with some adjustment. A strap with several snap positions or an elastic band gives useful flexibility.
Cut the main panel and pockets
Trace the pattern on the leather and cut carefully with a sharp knife and straightedge. Cut the flaps or sleeves from the same piece or a thinner leather, and keep the grain direction consistent so the cover folds evenly.
Round the corners and make sure the pieces match. Our article on cutting leather covers techniques and safety, which matter when you cut long straight lines on a big panel.
Stitch or glue the seams
Glue the sleeves or pockets in place with leather cement, keeping the glue away from the stitch line, then mark and punch stitch holes and sew with a saddle stitch. Our article on saddle stitching explains the method, and a stitching groover helps keep the line even.
Stitch each pocket along the open edges, reinforcing the corners where the notebook slides in, since these take the most strain.
Tool or stamp a design
A journal cover is a good canvas for a stamped border, initials or a carved pattern. Do the decoration before you assemble the cover, while the leather is flat, and use properly cased veg-tan leather for crisp impressions.
Practice on a scrap first. Our tooling and stamping basics guide covers the first steps, and a simple repeated border is both beginner friendly and attractive.
Add a closure
A leather strap with a snap, a loop around a button, an elastic band or a simple wrap-around tie all work. Choose by how often you open the journal and how secure you want it to be, and test the fit with the notebook inside.
Set snaps and rivets on scrap first, and punch holes to the size the hardware needs. Round the end of any strap and finish the edge so it does not fray or snag.
Finish, make it refillable and care for it
Finish the edges by burnishing or painting, and seal the surface if you have dyed it. A cover with elastic bands or pocket sleeves lets you swap notebooks, and a slightly generous fit makes this easier.
Wipe the cover with a barely damp cloth, condition it lightly if the leather feels dry and keep it away from long periods of direct sun. Use dyes and finishes in a ventilated space and wear gloves.
Troubleshooting a poor fit
If the cover will not close, check the allowance for thickness and the length of the flaps, since small errors add up in the folds. If it looks baggy, trim the sleeve edges or move the closure, and test with the notebook inside before finishing.
A cover that warps usually has uneven stitching or glue, or leather that is too thin for its size. Make notes on what went wrong, adjust the pattern and try again with the same measurements.
Add pockets and pen loops
A card pocket on the inside of the front flap and a pen loop on the spine are the most useful extras. Cut the pocket from thinner leather, glue it in place and stitch the side and bottom edges, leaving the top open for easy access.
Make the pen loop from a narrow strip stitched or riveted to the cover, sized to fit your pen with a little room. Test each addition with the notebook closed, since extra layers add thickness and can make the cover bulge.
Popular right now
- Setting Rivets and SnapsArticle
- Best Pricking Irons for Clean, Slanted Saddle StitchesBuying guide
- Best Gum Tragacanth and Burnishing Agents for Leather EdgesBuying guide
- How to Dye Leather EvenlyArticle
- Choosing Your First Leather KnifeArticle
- Hand Stitching vs Machine Stitching LeatherArticle
Based on the last 28 days of search and visitor data.