How to Get Crisp Leather Stamping Impressions
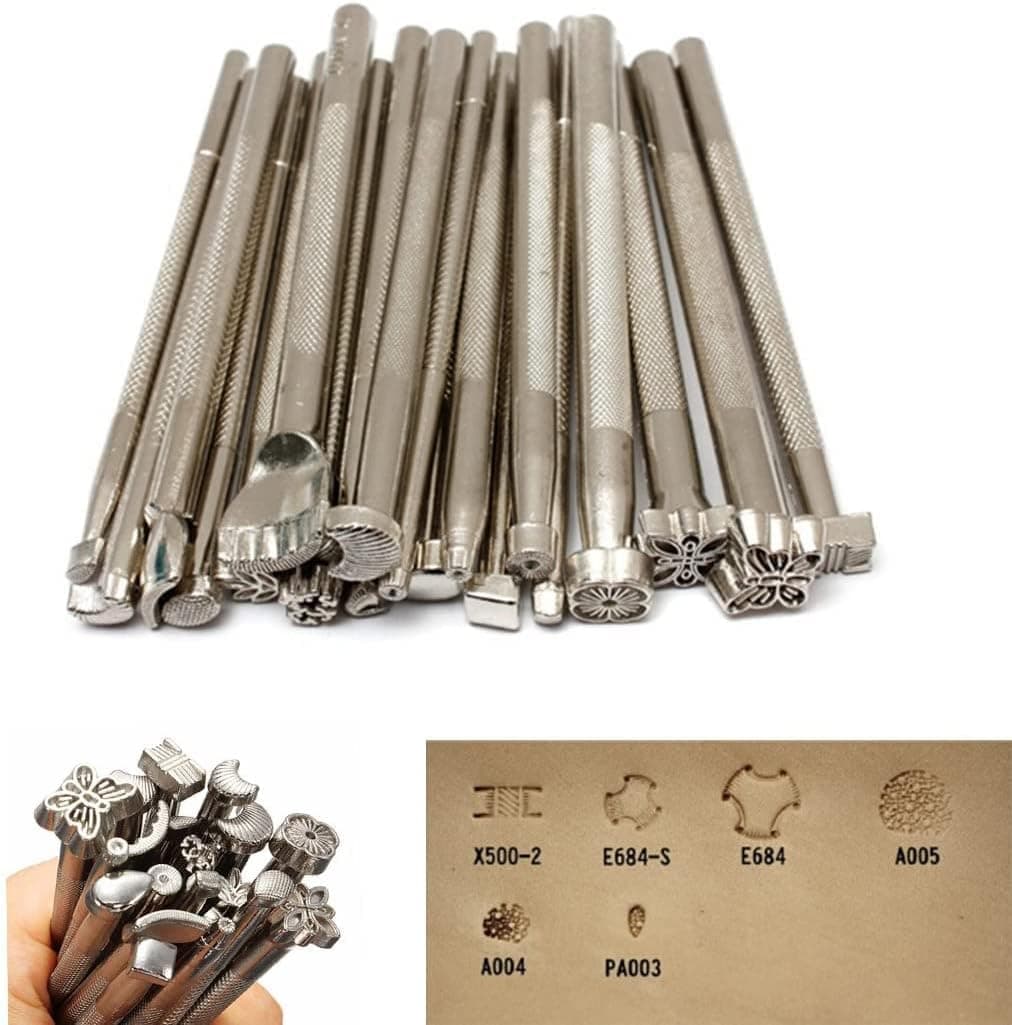
Leather stamping and tooling can produce beautiful, deep designs, but beginners often end up with faint, uneven or blurry impressions. The biggest factor is moisture content, known as casing. Leather that is too dry resists impressions, while leather that is too wet produces soft, blurry marks. Support under the leather and striking technique also matter.
Use the right leather
Only vegetable-tanned leather holds tooling and stamping impressions well. Chrome-tanned and heavily finished leathers will not take stamps crisply.
Choose tooling leather with a firm, smooth grain surface. Very soft or thin veg-tan may stretch or distort under stamping.
Case leather correctly
Casing means dampening the leather so fibres soften, then letting the surface dry until it returns close to its natural colour. Wipe the flesh and grain sides with water using a sponge, then wait.
When the grain side begins to lighten back toward its original colour but still feels cool against your cheek, it is ready. Test stamps on a scrap from the same piece first.
Avoid too wet or too dry
If the leather is too wet, stamps appear soft and fuzzy, and water may squeeze out when striking. Wait longer for surface moisture to evaporate.
If impressions are faint and the leather feels warm and dry, dampen it again lightly. Long stamping sessions may need rewetting as the leather dries.
Support the leather
Place leather on a solid, heavy surface such as a granite slab on top of a poundo board. A solid surface prevents bounce and transfers force into the leather.
Working on a thin table or soft surface absorbs force and weakens impressions. Tape the back of thin leather or use a stamping backing to reduce stretching.
Strike with control
Hold stamps vertically and strike firmly with a mallet or maul, usually with one confident blow. Multiple lighter strikes can cause double impressions if the stamp moves.
Keep your wrist steady, and rock large stamps slightly while holding them in position if needed. Practice strike force on scraps.
Finish carefully
Let stamped leather dry fully before dyeing and finishing. Antique gels and paste finishes highlight impressions by settling into recesses.
Wipe excess antique away from raised areas for contrast, then seal. Store stamps clean and dry to keep details sharp.
Common beginner mistakes
Stamping straight after wetting the leather is the most common cause of blurry impressions, because the surface is still saturated and the fibres simply squash and spring back. Waiting until the colour starts returning feels slow at first, but it makes the difference between soft marks and crisp, burnished detail that darkens nicely when finished.
Other frequent mistakes include using a light plastic mallet for large stamps, working on a wobbly table and stamping close to the edge of the leather, where it can stretch. Mark guidelines lightly with a stylus before stamping repeating patterns so impressions line up without needing to restrike.