How to Braid Leather Cord and Strips: Three Strand, Four Strand and Round Braids
Published How we research
Braiding turns thin strips or cords of leather into something far stronger and more decorative than the single strands. It is how many bracelets, key fobs, dog leads and lanyards are made, and a simple three strand braid can be learned in an evening with almost no tools. The challenge is in the details: leather does not slide like yarn, strips twist and curl, and uneven tension shows immediately. This guide walks through choosing the material, preparing and anchoring the strands, working a basic flat braid, moving on to four strand and round braids, finishing the ends securely and troubleshooting the most common problems.
Products from this article
The highest-scoring picks from the buying guides this article links to. Scores are our editorial assessment, not customer ratings.
As an Amazon Associate we earn from qualifying purchases. This does not change our picks. Affiliate disclosure
New to Prime? Try Prime free for fast, free shipping on eligible items.
+ Includes 1 lacing needle, so you can start edge lacing right away
From our guide: Best Leather Lace for Whipstitching, Braiding, and Edge Lacing
+ 1-1/2" width fits most standard belt buckles and jeans loops
From our guide: Best Leather Straps and Belt Blanks for DIY Belts, Collars, and Bags
+ Easy width adjustment gives uniform belts and straps
From our guide: Best Strap Cutters for Belts, Straps, and Lace
+ Deerskin lace is soft yet strong, so it pulls tight without cracking
From our guide: Best Leather Lace for Whipstitching, Braiding, and Edge Lacing
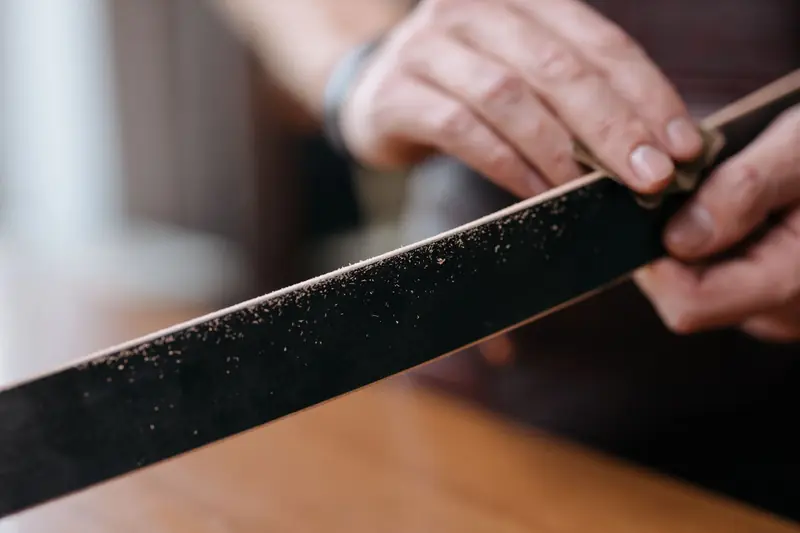
Choose cord or cut strips
You can buy round leather cord, flat lace or cut your own strips from a hide. Round cord is the easiest way to begin, because it does not twist and gives a uniform look, while flat lace and cut strips give a flatter, classic braid.
If you cut strips yourself, a strap cutter or a sharp knife and straightedge helps keep the width even. Soft, supple leather such as lace-weight chrome-tan or a light veg-tan braids more easily than a thick, stiff hide.
Gather tools and prepare the strands
You need very little: a clip or clamp to hold the top, a flat surface, a sharp knife or scissors for trimming and some leather glue or rivets for the ends. A bone folder helps you flatten and smooth the braid as you go.
Cut the strands longer than the finished piece, because braiding shortens the length, and a rough guide is to add a generous allowance. Taper or point the ends of flat strips, and dampen very dry leather lightly so it bends smoothly.
Anchor the strands
Fix the top of the strands to a clipboard, a hook or a loop of cord so the braid does not shift. Spread them out flat, with the smooth side up, and keep the strands from twisting before you begin.
Good anchoring is half the battle, since a loose top makes uneven tension. Keep your workspace clear and work under good light, so you can spot twists and kinks before they get braided in.
Work a three strand flat braid
Number the strands left, middle and right. Cross the right strand over the middle one, then the left over the new middle, and repeat, pulling each pass snug without stretching the leather. Keep strands flat and the same width.
Check each crossing, and smooth out any twist right away, because twists lock in as you continue. Many beginners find it easiest to braid slowly, with a steady rhythm and equal tension for each pass.
Try four strand and round braids
A four strand round braid gives a rounder, more rope-like shape and is popular for key fobs and bracelets. It uses a repeating pattern of crossing strands over and under in sequence, and a printed or video pattern from a reputable maker helps you learn the order.
Practice with a contrasting cord so you can see each strand, and use a paper tag on each end of the strands to keep track. Work up to more strands only when the three strand braid is easy.
Keep tension even
Uneven tension gives wavy, lumpy braids. Pull each strand with the same force, keep the work at a steady angle and avoid stretching the leather, which can change its width and cause the braid to relax later.
If the braid keeps twisting, check that the strands lie flat as they cross. Take breaks, because tired hands braid unevenly, and undo sections that look wrong early instead of hoping they will even out.
Finish and secure the ends
Trim the ends neatly and secure them with leather cement, a leather or metal end cap, a rivet, a stitched wrap or a knot. Choose the method that fits the use, and make sure it will hold under the strain the piece will see.
Test a finished end by tugging it firmly before you give or use the piece. Our setting rivets and snaps article helps with metal fasteners, and the edge finishing article helps neaten the ends of flat strips.
Project ideas to try
Good starter projects are a bracelet, a key fob, a bookmark and a lanyard. Each uses a modest amount of leather, and the braid itself provides most of the decoration, so you do not need to dye or tool the pieces.
Once you are comfortable, try dog leads, belts and bag handles, which need stronger materials and secure hardware. Match the leather and braid style to the load, and use rivets or stitching at the ends of any piece that will carry weight.
Troubleshooting and care
If strands snap, the leather is too dry or too thin, so try a softer or thicker material. If the braid looks loose, redo it with firmer tension, and if the ends fray, seal or fasten them more carefully.
Keep braided leather clean and dry, and condition it lightly if it feels stiff. Wear a thimble or work on a mat if you use a knife for trimming, and cut away from your hands.
Practice before you commit good leather
Braid a few test lengths from spare cord or scrap strips before you use leather you care about. Practice shows you how much length the braid takes up, how tight to pull and how the pattern looks in a given width, and it saves wasting a good hide.
Write down the strand length, strand width and finished length of each test, so you can plan future pieces accurately. After a handful of practice braids, the rhythm becomes automatic and your results get noticeably more even.
Popular right now
- Setting Rivets and SnapsArticle
- Best Pricking Irons for Clean, Slanted Saddle StitchesBuying guide
- Best Gum Tragacanth and Burnishing Agents for Leather EdgesBuying guide
- How to Dye Leather EvenlyArticle
- Choosing Your First Leather KnifeArticle
- Hand Stitching vs Machine Stitching LeatherArticle
Based on the last 28 days of search and visitor data.