How to Seal Leather: Choosing and Applying a Top Coat
Published How we research
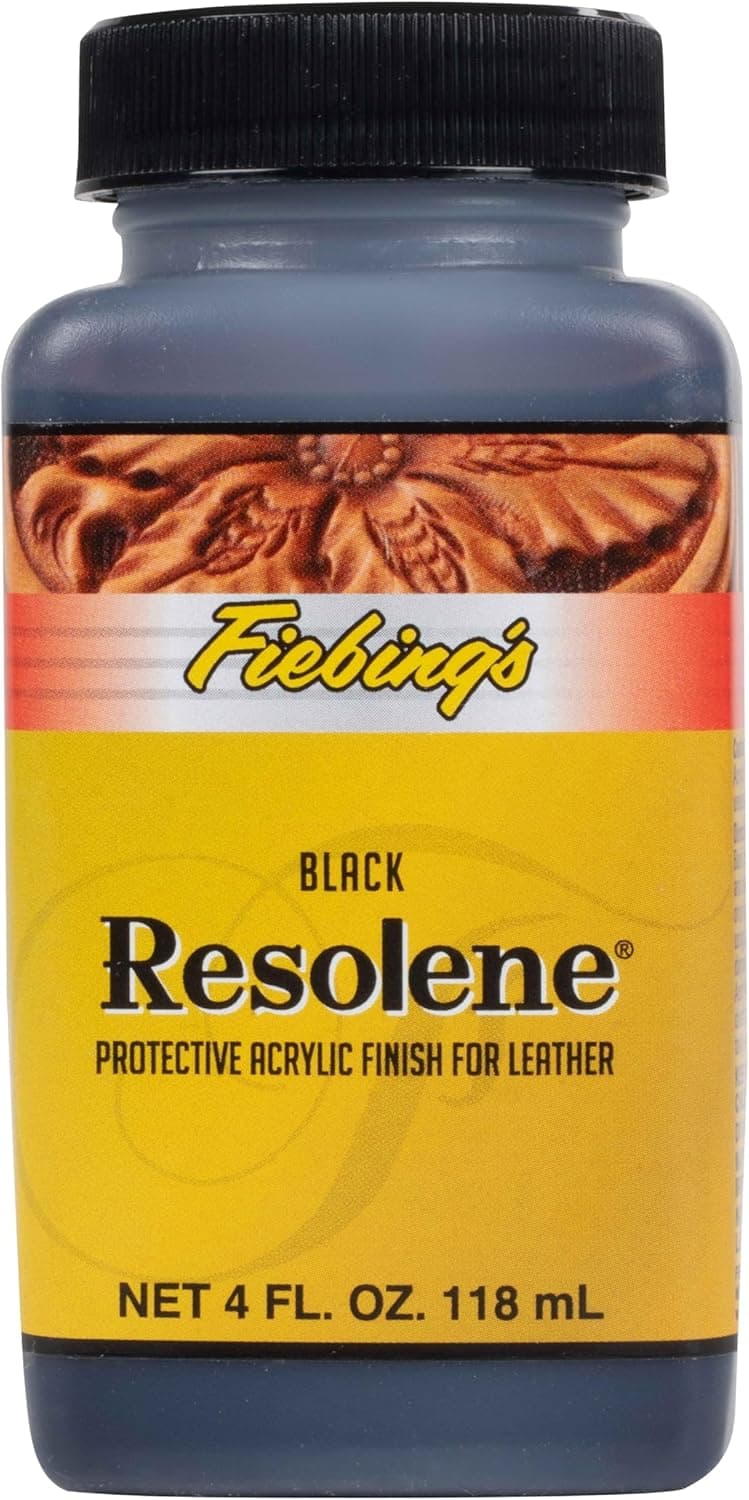
To seal leather, let the dye dry fully, buff off loose pigment, then wipe on two thin coats of a top coat such as acrylic resolene diluted about 50/50 with water, letting each coat dry before the next. Acrylic finishes give the most water resistance and the best protection against dye transfer, while wax and oil finishes look more natural but protect less and need renewing. Sealing does not make leather waterproof. It locks in color, slows down staining and sets the final sheen. The steps below cover choosing a finish, preparing the surface, applying it without streaks and fixing the usual problems.
What sealing does and when leather needs it
Natural veg tan that you have dyed, antiqued, tooled or left bare has an open surface. Water spots it, dye can rub off onto clothing, and dirt works into the grain. A sealer, also called a top coat or finish, lays a thin protective layer over the surface that holds color in and keeps moisture out for long enough to wipe it away.
Not all leather needs it. Most chrome tanned, oil tanned and upholstery leathers are finished at the tannery and only need occasional conditioning. Suede and nubuck should not get a liquid acrylic sealer at all, because it mats the nap; they take a spray protector made for napped leather. Sealing is mainly a step for veg tan projects you have colored or tooled yourself.
Choosing a finish: acrylic, wax or oil
Acrylic finishes are the standard choice for dyed veg tan. Fiebing's Acrylic Resolene is the best known, and the acrylic finishers from Angelus and the Eco-Flo Shene products from Tandy work on the same principle: a water based acrylic that dries to a flexible clear film. They resist water and dye transfer better than the other options here. The trade-off is sheen and feel. Resolene dries to a medium to high gloss, and heavy coats can look and feel like plastic, so satin and matte finishers exist for a quieter look.
Wax finishes, such as carnauba creams and beeswax based balms, are rubbed in and buffed to a soft glow. They keep the natural hand of the leather and are easy to renew, but they give lighter protection and wear off with use, so belts, bags and boots need a fresh coat from time to time.
Oils such as neatsfoot oil are conditioners first. They replace the oils that alcohol dye strips out and add a little water resistance, but they do not stop dye from rubbing off, and they darken the leather. Oil is usually a step before the sealer, not a substitute for it.
Prepare the surface before sealing
A top coat locks in whatever is underneath, including mistakes. Let dye dry completely first: several hours is the minimum and overnight is safer. Then buff the surface firmly with a clean, soft cloth and keep turning the cloth until it comes away with no color on it. Loose pigment left on the surface is the main cause of dye transfer later, and a sealer wiped over it can smear it into streaks.
If the leather feels dry and stiff after dyeing, apply a light coat of neatsfoot oil and give it several hours to soak in and even out before sealing. Go lightly, since a surface that is still oily can keep an acrylic finish from bonding well. Finish any tooling, antiquing and gluing before the final coat, and decide what to do about edges: an acrylic film resists water and burnishing gum, so either burnish the edges first or keep the sealer off them.
How to apply an acrylic sealer without streaks
Dilute first. Mixing resolene about 50/50 with water is the common practice, because the thinner mix levels out before it dries and is far less likely to streak or build into a plastic looking film. Stir gently so the mix does not foam.
Dampen a clean sponge or a soft cloth, load it lightly and wipe the finish on in long, even strokes that run off the end of the piece. Cover the whole surface in one pass and then leave it alone. Going back over an area that has started to dry is what causes streaks and can lift dye. Bubbles come from pressing or scrubbing with the sponge, so keep the touch light and smooth out any foam straight away. An airbrush gives the most even result if you have one.
Let the first coat dry fully to the touch, then apply a second thin coat. Two thin coats protect better and flex better than one heavy coat. Let the piece cure overnight before you buff it lightly with a soft cloth, assemble it or put it to use.
On tooled or stamped leather, watch the low spots. Finish that pools in cuts and impressions can dry cloudy. Wick out any puddles with the corner of the sponge or a dry brush before they set.
Sealing as a resist before antiquing
A sealer is also used in the middle of a project. On tooled leather, a coat of acrylic finish applied before antique gel or paste acts as a resist: it keeps the raised surfaces from absorbing the antique, so the dark color stays in the cuts and background and wipes cleanly off the high areas. Let the resist dry fully, apply the antique, wipe off the excess, let it dry, and then seal again over the top to lock everything in.
Always test the full sequence on a scrap of the same leather. How strongly a resist blocks the antique depends on the finish, how many coats you used and the leather itself, and a test piece shows the contrast before you commit the real work.
Fixing common sealing problems
Streaks and lap marks come from finish that was too thick, undiluted or reworked while drying. A very light extra coat of well diluted finish, applied quickly in one direction, often evens them out. Cracking shows up where thick coats sit on parts that flex, such as belt holes and wallet folds. The fix is prevention: thin coats, and a satin or matte product if the piece bends a lot.
A sticky or tacky surface usually means the coat went on too heavy or the room is cold and humid. Give it more time in a warm, dry place before judging it. If dye still rubs off after sealing, the surface was not buffed enough beforehand. Buff again, then add another thin coat. A white or cloudy film in tooling is pooled finish, which is much easier to prevent by wicking it out wet than to remove once dry.
Frequently asked questions
Does sealing make leather waterproof? No. A sealer makes leather water resistant, so drops bead and wipe off instead of soaking in at once, but seams, edges and flexing still let water through. For wet weather gear, add a wax based waterproofing product and reapply it regularly.
Should I oil leather before or after sealing? Before. Oil and conditioner cannot soak through an acrylic film, so apply a light coat of oil after dyeing, let it absorb for several hours, and seal last.
Can I use resolene without diluting it? You can, but it is harder to control. Full strength resolene streaks more easily and builds a glossier, stiffer film. A 50/50 mix with water in two thin coats is more forgiving.
How long should dye dry before sealing? At least several hours, and overnight is the safer choice. Then buff until a clean cloth shows no color. Sealing over damp dye or unbuffed pigment traps the problem under the finish.
Products from this article
The highest-scoring picks from the buying guides mentioned above. Scores are our editorial assessment, not customer ratings.
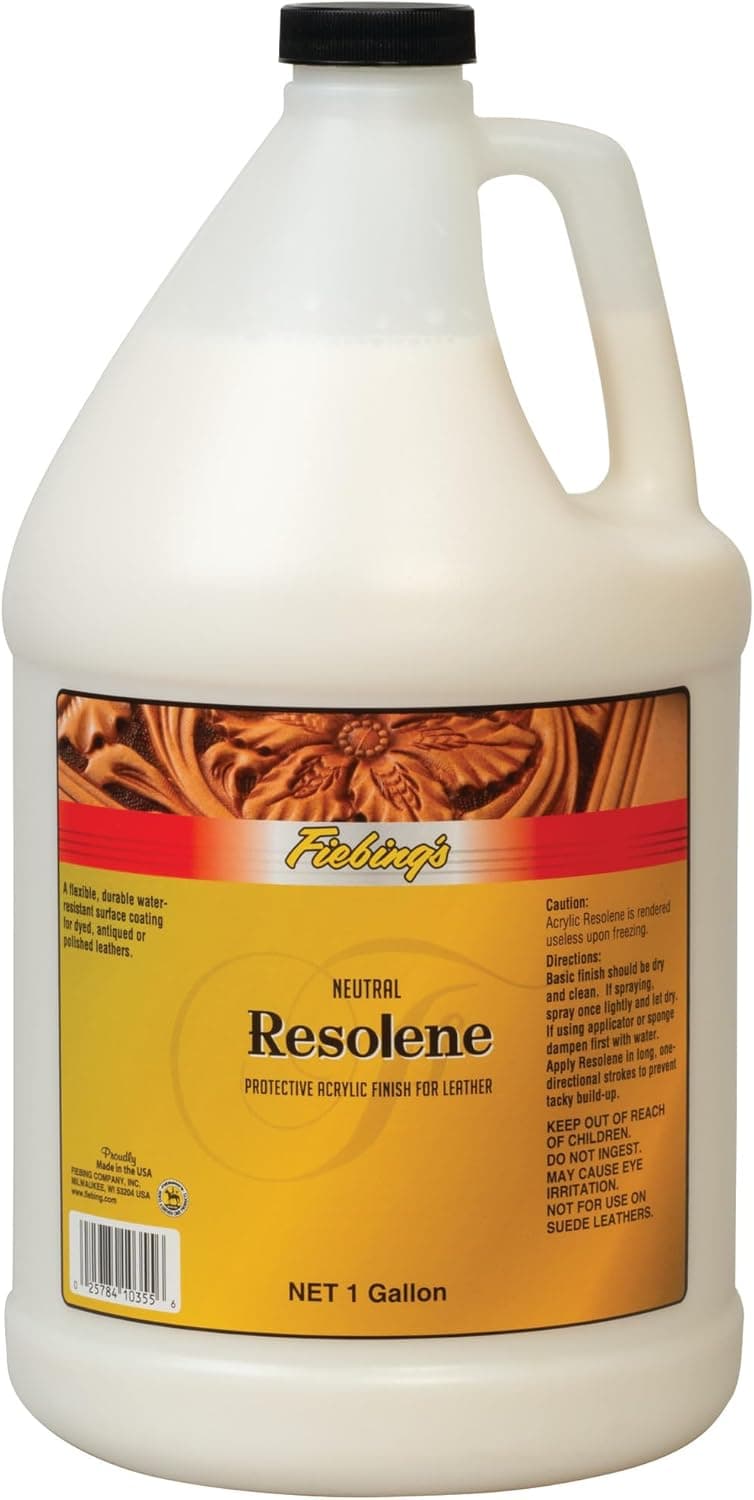
+ 1 gallon size is very economical for production shops
From our guide: Best Resolene and Acrylic Sealers for Dyed Leather
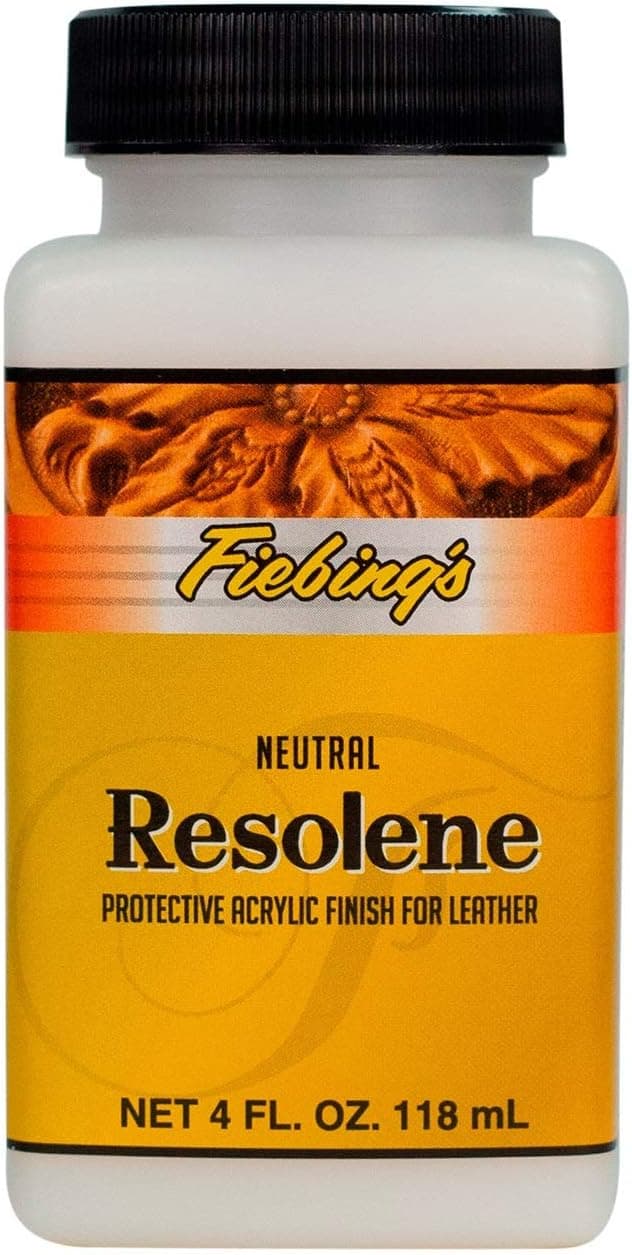
+ Clear neutral coat keeps tooled details visible
From our guide: Best Leather Finishes and Top Coats for Lasting Protection
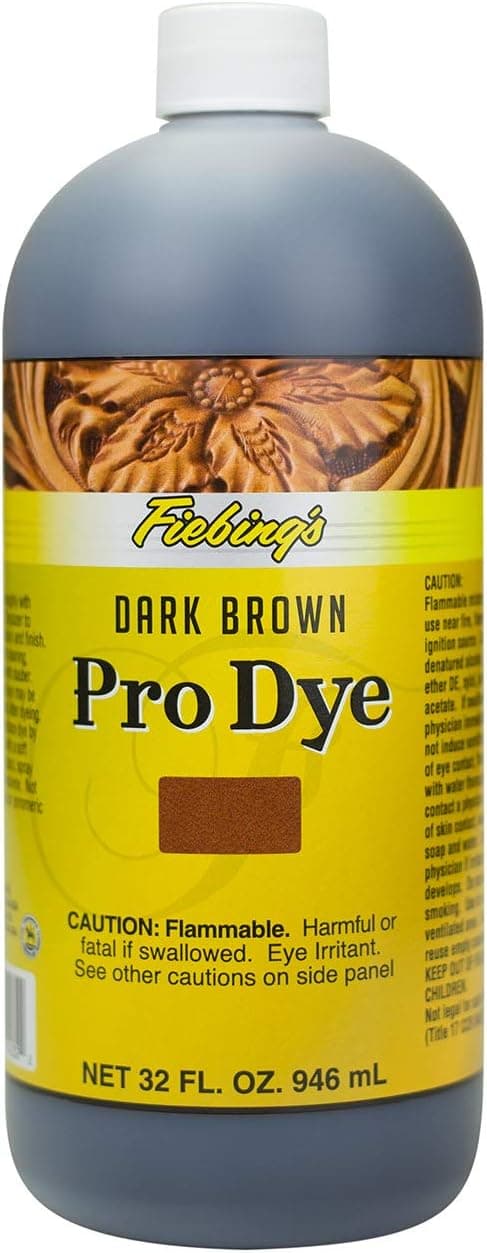
+ 32oz size cuts cost per project for busy shops
From our guide: Best Leather Dyes for Rich, Even Color on Veg-Tan
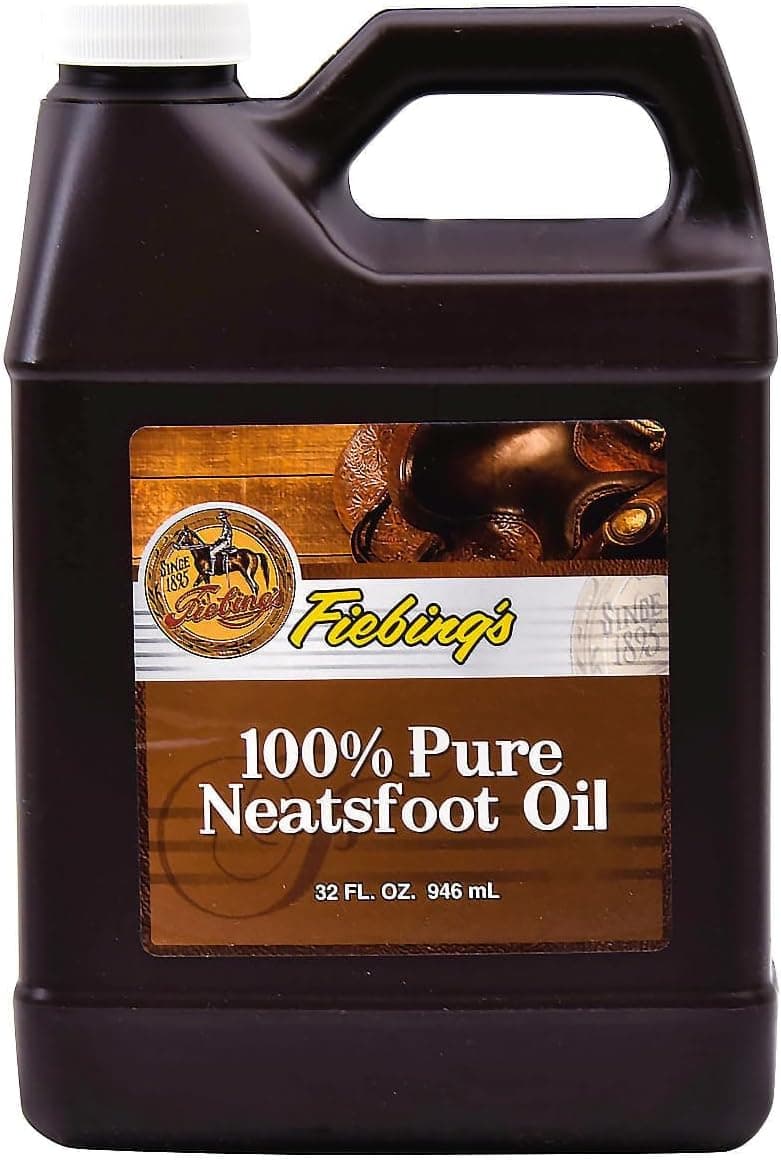
+ 32oz supply is great value for pure neatsfoot oil
From our guide: Best Leather Oils: Neatsfoot, Mink, and Modern Blends Compared
Popular right now
- Setting Rivets and SnapsArticle
- Hand Stitching vs Machine Stitching LeatherArticle
- Best Pricking Irons for Clean, Slanted Saddle StitchesBuying guide
- Best Gum Tragacanth and Burnishing Agents for Leather EdgesBuying guide
- How to Dye Leather EvenlyArticle
- Common Leathercraft Beginner Mistakes and How to Avoid ThemArticle
Based on the last 28 days of search and visitor data.